TL;DR:
- An effective horror short story outline focuses on a single emotional arc from curiosity to dread.
- Preparation involves identifying a simple, unsettling premise and choosing an outline approach that suits the story.
- Refining the outline entails minimizing characters, tightening escalation, and leaving details to reader imagination.
How to outline a horror short story that captivates readers
Many aspiring horror writers pour real energy into their stories, yet the finished product fizzles instead of frightens. The culprit is almost always the outline. Without a focused blueprint, a horror short story can wander, lose tension, and arrive at an ending that lands with a thud instead of a chill. This guide walks you through every stage of building an outline that does the heavy lifting before you write a single scene. You will learn how to assemble the right materials, structure your beats for maximum suspense, and diagnose the mistakes that drain fear out of a story before it even begins.
Table of Contents
- Understand the essentials of horror short stories
- Gather your ideas and materials before outlining
- Step-by-step: Outline your horror short story
- Avoid common pitfalls and refine your horror outline
- Why less is more: A personal approach to outlining horror
- Ready for more horror inspiration?
- Frequently asked questions
Key Takeaways
| Point | Details |
|---|---|
| Start with a single fear | A focused terrifying idea is the best core for a short story outline. |
| Keep your cast small | Limiting characters heightens emotional intensity and clarity. |
| Build suspense step by step | Outlining each escalation keeps readers hooked from curiosity to dread. |
| Prioritize atmosphere | Implied horror and subtle storytelling can be more effective than explicit details. |
| Refine for impact | A concise, well-structured outline sharpens suspense and leaves a lasting impression. |
Understand the essentials of horror short stories
Before you map out a single scene, it helps to understand what a horror short story is actually supposed to accomplish. It is not simply a scary scene with a beginning and an end. A well-crafted horror short story takes a reader on a compressed emotional journey, moving them from ordinary curiosity all the way through building dread to a final, resonant moment of fear or revelation. Every sentence has to earn its place because you simply do not have the space to waste.
The creative power of horror lies in its ability to access emotions that other genres rarely touch. Horror makes readers feel vulnerable, alert, and deeply engaged. That emotional intensity is the whole point. Your outline needs to protect that emotional arc at every stage, not just gesture at it in the final paragraph.
What does successful short horror look like structurally? Research confirms that horror's impact on readers is strongest when the story focuses on a single emotional arc. As one benchmark confirms, short horror excels at single-arc emotional impact moving from curiosity to dread, works best with minimalist casts of one protagonist and one antagonist, and uses compression to let reader imagination linger rather than spelling everything out.
Here are the core traits that define effective horror short stories:
- Single emotional arc: Curiosity transitions through unease to outright dread.
- Minimalist cast: One protagonist facing one source of threat keeps focus razor sharp.
- Compression: Every scene, line of dialog, and descriptive detail serves the mood.
- Restraint: What is suggested is almost always scarier than what is shown.
- Resonance: The best endings linger. They do not explain. They haunt.
Below is a quick reference showing how emotional beats map to story sections:
| Story section | Emotional target | Reader experience |
|---|---|---|
| Opening | Curiosity | Intrigue and normalcy |
| Early middle | Unease | Something feels wrong |
| Late middle | Dread | Fear builds, no escape |
| Climax | Terror | Peak intensity |
| Ending | Lingering horror | Imagination takes over |
"Compression aids lingering reader imagination over explicit reveals." This is the secret weapon of the best horror shorts. Trust the reader's mind to fill in what you leave out.
Understanding this emotional structure is the foundation of every outline decision you will make from here on.
Gather your ideas and materials before outlining
With the essentials in mind, you can prepare the building blocks for your own horror outline. Jumping straight into an outline without the right raw material is like building a house with no lumber. You end up with a hollow frame. The preparation phase is where your story finds its seed of genuine fear.
Start by identifying your central premise. What is the one image, concept, or fear that your story will orbit? Strong premises in horror are often deceptively simple. A sound that only one person can hear. A door that should not be there. A neighbor who never ages. The premise does not need to be original at this stage. It needs to feel unsettling to you personally, because authentic unease transfers onto the page.
Next, decide on your outlining approach. Research shows that two main schools of thought exist here: strict beat sheets that follow a Setup-Escalation-Turn-Ending structure for reliability, and looser outlines that prioritize psychological immersion over rigid plotting. Neither is wrong. They suit different writers and different stories.
| Approach | Best for | Trade-offs |
|---|---|---|
| Strict beat sheet | Writers who need structure | Can feel mechanical if over-applied |
| Loose plot outline | Psychological, mood-driven horror | Requires strong instincts to stay focused |
| Hybrid | Most short horror projects | Balances discipline with creative freedom |
For most short horror, a hybrid approach works best. You have clear beats to hit, but you leave room for mood to breathe between them.
You should also gather reference materials. Mood boards work surprisingly well for horror writers because they make the atmosphere visible before the words exist. Pull images, song lyrics, overheard conversations, or even weather reports that match your story's feeling. These materials do not end up in the story but they sharpen your instincts as you outline.
For writing gripping horror stories, preparation also means silencing your inner editor early on. Record every raw idea without self-censorship. The bizarre idea you almost dismissed might be the one that makes your story unforgettable.
Here is a quick preparation checklist before you outline:
- One sentence describing the central fear or premise
- A chosen outlining method (strict, loose, or hybrid)
- A short list of mood references, images, or sounds
- A note on your protagonist's normal world before the horror arrives
- A rough sense of the ending's emotional tone (unresolved dread, shocking revelation, bitter irony)
Pro Tip: Write your horror premise in one sentence, then ask yourself: "Would this keep me awake at night?" If not, push the concept further. Specificity is what separates a generic scary idea from one that genuinely disturbs.
Step-by-step: Outline your horror short story
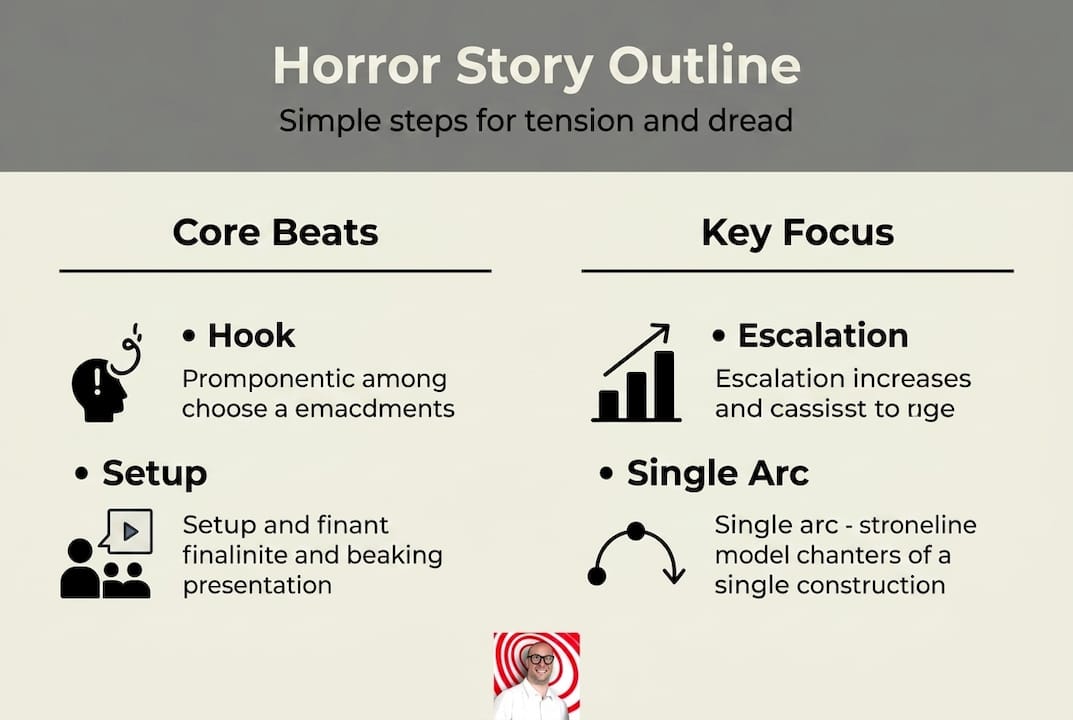
Once you have prepared the right materials, you are ready to move into structured outlining. A good horror outline follows five clear steps. Think of each step as a dial you turn to increase emotional intensity. Your job is not just to plan what happens but to engineer how the reader feels at every stage.
Step 1: Hook. The opening image or moment must create an immediate sense that something is not quite right. It does not have to be frightening. It should be interesting in a way that nudges the reader's comfort just slightly off center. A detail that does not fit. A character who notices too much. This is where curiosity begins.
Step 2: Setup. Establish your protagonist's world, goals, and what they stand to lose. Keep this tight. One or two clear stakes are enough. Horror works because readers care about the person being threatened. Without a believable normal world, the threat has no contrast to push against. Limit your cast here. Research confirms that minimalist casts in horror sharpen focus and amplify emotional impact far more than ensemble casts do.
Step 3: Escalation. This is the longest section of your outline and the most important. Plan a sequence of events that gradually increase unease. Do not spike the tension too early. Each beat should feel slightly worse than the last. Think of escalation as a staircase. The protagonist tries to explain away the horror, fails, tries again, and fails worse. Their options narrow. The reader's dread rises.
Step 4: The turn. This is the moment everything changes. The protagonist can no longer deny what is happening. The true nature of the threat is revealed, or a desperate action is taken with irreversible consequences. This beat should feel inevitable in retrospect, even if it surprises in the moment. For guidance on structuring this pivotal moment, the step-by-step horror outline framework at Mark Watson Books offers clear examples.
Step 5: Ending. Resist the urge to explain everything. The best horror endings open a door and then turn off the light. Let the reader's imagination finish the work. For deeper insight into how endings create lasting fear, scary storytelling guidance can help you understand why ambiguity often hits harder than resolution.
- Write your hook image in one sentence.
- List the protagonist's goal and their single greatest fear.
- Draft three to five escalating beats, each worse than the last.
- Identify the turn moment and its emotional consequence.
- Write the final image or line your story will leave behind.
Pro Tip: After drafting each outline step, reread it and ask whether it raises or releases tension. Every step should raise it. If a beat relaxes the reader, cut it or replace it with something that tightens the screws.
Here is a useful number to keep in mind: horror shorts with a single emotional arc consistently outperform multi-arc stories in reader retention and emotional impact. Keep your outline focused on one throughline of fear from start to finish.
Avoid common pitfalls and refine your horror outline
After crafting your outline, the final step is to diagnose and refine for maximum suspense. Even well-intentioned outlines fall into traps that hollow out the fear. Knowing what these pitfalls look like makes them much easier to spot and fix.
Here are the most common horror outline mistakes:
- Overcrowding with characters: Every extra character dilutes focus. Readers cannot dread for someone they barely know. Keep your cast as lean as possible.
- Weak or flat escalation: If every beat in your middle section feels the same intensity, the reader goes numb. Escalation must genuinely worsen with each step.
- Over-explaining the horror: Naming, describing, and rationalizing the threat in full detail destroys suspense. Mystery is frightening. Clarity is not.
- A dull or convenient ending: The protagonist finding an easy escape, a sudden rescue, or a tidy explanation all deflate the horror. Your ending should feel earned and unsettling.
- Slow setup: Spending too long in the protagonist's ordinary world delays the horror and loses readers before the fear even starts.
Use this quick reference table to troubleshoot outline problems:
| Problem | Symptom | Fix |
|---|---|---|
| Too many characters | Reader loses track of stakes | Cut to one protagonist, one threat |
| Flat escalation | Tension plateaus mid-story | Add a beat that removes the protagonist's best option |
| Over-explained horror | Story feels clinical, not scary | Replace explanation with sensory detail |
| Weak ending | Reader feels unsatisfied | End on image or action, not explanation |
| Slow setup | Reader disengages early | Introduce the first sign of threat within the first 10% |
Refinement is also about asking hard questions of your own outline. Does every beat serve the emotional arc? Is there a moment where the reader might feel safe when they should not? Are you relying on shock over dread? Shock fades in seconds. Dread stays. For practical techniques on engaging horror readers at every stage of a story, deep research into reader psychology pays off.
As confirmed by horror writing research, compression aids lingering reader imagination over explicit reveals. Your outline refinement process should be, in large part, a process of removal. Cut anything that explains too much. What you leave out is what keeps readers awake.
"Impactful horror lingers in the reader's mind, even with minimal explicit detail." The scariest story you ever read probably told you far less than you remember. Your outline should plan for that gap between what is written and what the reader imagines.
Why less is more: A personal approach to outlining horror
Here is something worth sitting with: the most complicated outlines rarely produce the scariest stories. There is a temptation, especially for new horror writers, to equate complexity with quality. More twists, more characters, more reveals. But short horror does not reward complexity. It rewards precision.
A single-arc emotional journey moving from curiosity to dread consistently outperforms convoluted plots in the short form. Why? Because fear is an emotion, not a puzzle. Readers do not need to be impressed by clever architecture. They need to feel trapped, uneasy, and unable to look away.
Think of your outline as a blueprint for tone, not just for events. When you sit down to map your beats, the most important question is not "what happens next?" but "how does the reader feel right now?" Every plot decision should serve the emotional temperature of the scene.
The scariest stories are almost always the simplest but the best executed. A man hears a noise. He investigates. He wishes he had not. That premise can generate a masterpiece if every detail, every word choice, every beat of the outline is selected to maximize dread. For more on executing that vision scene by scene, the guide on how to craft chilling tales goes deep into the craft elements that make a simple concept genuinely terrifying.
Trust simplicity. Refine ruthlessly. Let the outline breathe.
Ready for more horror inspiration?
You now have the blueprint. The next step is to study the craft in action by reading horror that does exactly what your outline is trying to do.

At Mark Watson Books, you will find a vivid selection of horror fiction and Creepypasta anthologies that demonstrate what a tight, emotionally focused short horror story looks and feels like. Explore the horror collection for gripping thrillers that master tension and suspense from page one. Or dive into the Creepypasta books for internet horror that proves how minimalist, atmospheric storytelling can leave readers thoroughly unsettled. Every book in the catalog is a masterclass in the techniques this guide covers. Read, study, and let the best horror sharpen your own instincts as a writer.
Frequently asked questions
What are the essential components of a horror short story outline?
The core components include a strong hook, a clear setup, rising escalation, a pivotal turn, and an impactful ending. Each element should serve the story's single emotional arc, moving the reader from curiosity through to dread, as short horror research consistently shows.
Is it better to use a strict structure or freeform outline for horror stories?
Both methods work depending on your creative style. Strict beat sheets offer reliable structure, while looser outlines encourage deeper psychological immersion, and contrasting approaches to horror outlining suggest a hybrid is often most effective for short fiction.
How long should a horror short story outline be?
Keep your outline concise, capturing only the essential beats to maintain tension and clarity. Compression is a core strength of the genre, and lingering reader imagination is better served by a focused outline than an exhaustive one.
What mistakes should I avoid in my horror outline?
Avoid overcrowding your cast, allowing escalation to flatten, and over-explaining the horror itself. As horror writing benchmarks confirm, minimalist casts and restrained reveals let suspense build far more effectively than explicit descriptions ever can.